Setting Up Mistral for Free Autocomplete
This guide walks you through setting up Mistral's Codestral model for free autocomplete in Kilo Code. Mistral offers a free tier that's perfect for getting started with AI-powered code completions.
Prerequisites
- A Kilo Code account (free to create)
- A Mistral AI account with a Codestral API key
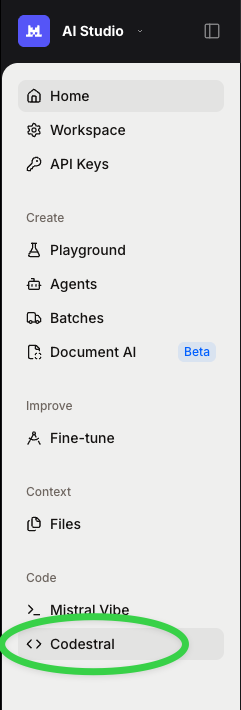
Step 1: Navigate to Codestral in Mistral AI Studio
Go to the Mistral AI console and sign up or sign in to your account. In the sidebar, click Codestral under the Code section.
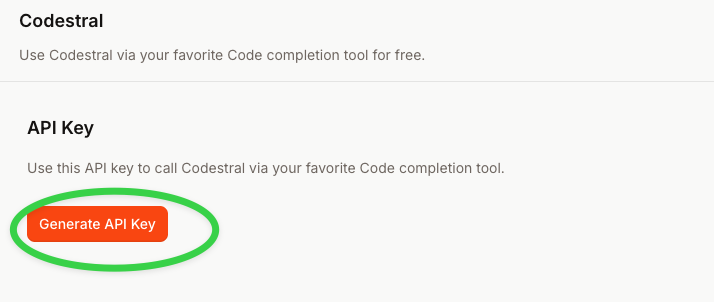
Step 2: Generate API Key
Click the Generate API Key button to create your new Codestral API key.
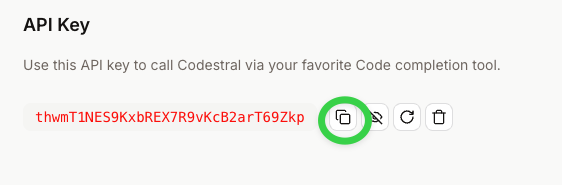
Step 3: Copy Your API Key
Once generated, click the copy button next to your API key to copy it to your clipboard.
The Codestral API key is separate from the standard Mistral La Plateforme API key. Make sure you generate a key specifically from the Codestral section of the Mistral console.
Step 4: Add Your Key via BYOK in Kilo
- Log into the Kilo platform.
- Navigate to the Bring Your Own Key (BYOK) page, available in the sidebar under Account.
- Click Add Your First Key (or Add Key if you already have keys configured).
- Select Codestral as the provider.
- Paste your Codestral API key.
- Click Save.
For more details on BYOK, see the Bring Your Own Key documentation.
Step 5: Verify Autocomplete is Working
Once your BYOK key is saved, Kilo Code's autocomplete will automatically use your Codestral key through the Kilo Gateway. No additional configuration is needed in the extension.
- Open VS Code with the Kilo Code extension installed.
- Start typing in any code file — you should see inline ghost-text suggestions powered by Codestral.
- Press
Tabto accept a suggestion.
The autocomplete status bar in VS Code shows the current provider ("Kilo Gateway") and tracks cumulative cost. With BYOK, requests are billed directly by Mistral at their rates (Codestral has a free tier) and show as $0.00 on your Kilo balance.
How It Works
When you add a Codestral BYOK key, the request flow is:
Your Editor → Kilo Gateway (with your key) → Mistral
- The Kilo Gateway detects your BYOK key and routes autocomplete requests using it.
- You are billed directly by Mistral — Kilo does not add any markup.
- If your BYOK key is invalid, the request will fail (it does not fall back to Kilo's keys).
Troubleshooting
- Autocomplete not appearing? Check that autocomplete is enabled in Kilo Code settings (it is on by default). Also verify you are signed into Kilo Code in the extension.
- Key not working? Ensure you copied the Codestral API key (not the standard La Plateforme key). You can verify your key at console.mistral.ai/codestral.
- Seeing charges on your Kilo balance? If you haven't configured BYOK, autocomplete defaults to using your Kilo credits. Add your Codestral key via BYOK to route requests through your own Mistral account.
Next Steps
- Learn more about Autocomplete features
- Explore triggering options for autocomplete
- Check out best practices for optimal results